We Were Here Tomorrow puzzle guide: Early Solutions
Solve the opening wellness check, R&D circuits, chemical recipe, timed dials, and green access pass puzzles with clear co-op instructions.
One missed monitor can leave both players stuck in a room full of perfectly usable switches. This We Were Here Tomorrow puzzle guide explains how to connect your partner’s clues to your own controls, helping you avoid unnecessary trial and error. Use this We Were Here Tomorrow puzzle guide for the opening wellness check, shrinking laboratory, chemical mixture, computer dials, and green access pass.
Spoiler and coverage notice: This walkthrough covers the opening sequence through arrival at the Exotic Matter Lab, not the entire game. Solutions are based on player experience documented in the opening We Were Here Tomorrow co-op gameplay video. Exact sequences below reflect that session; compare them with your own displayed clues rather than assuming every arrangement is identical.
1. We Were Here Tomorrow Puzzle Guide: Opening Checklist
The opening puzzles establish a useful division of labor: one player sees information, while the other operates the relevant mechanism. A control that seems arbitrary on your side often makes sense from your partner’s room.
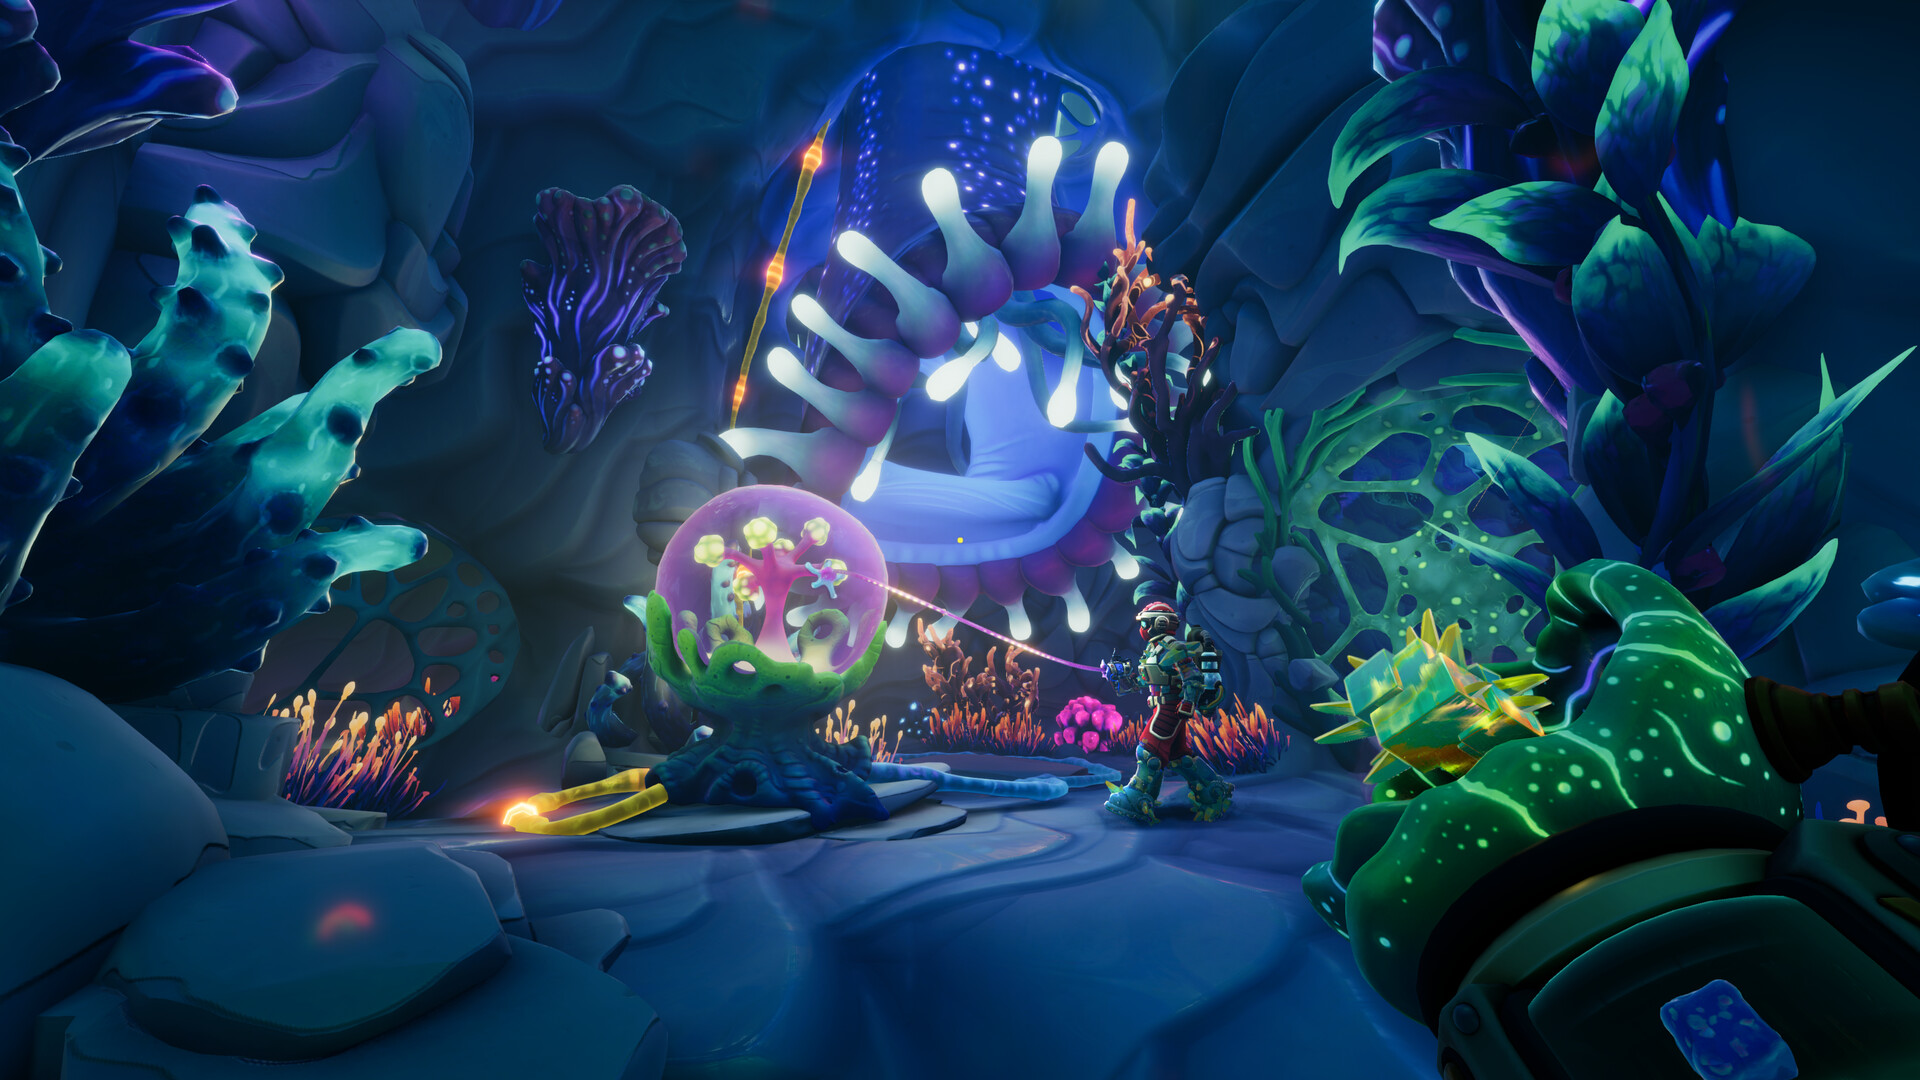
Official screenshot · Source: Steam store
Before attempting a sequence, identify three things:
- Who has the clue? Look for monitors, diagrams, labels, and notes.
- Who has the controls? Describe what each interaction actually does.
- What confirms success? Watch for an opened route, changed indicator, or completed machine.
For official series information, visit the We Were Here series website. Don’t substitute solutions from the original We Were Here: its castle puzzles are different from the laboratory challenges covered here.
| Opening challenge | Information to exchange | Main mistake to avoid |
|---|---|---|
| Alien symbols | Distinctive symbol descriptions and order | Calling everything “the alien face” |
| Physical controls | The sequence shown on the partner’s computer | Trying every switch without rereading the screen |
| Logistics test | Door states, tube location, battery position | Leaving the required route closed |
| Miniature circuit | Component identity and socket shapes | Confusing similar-looking symbols |
| Chemical mixture | Recipe order and dispenser settings | Adding ingredients before finding the recipe |
| Printer grid | Target dots and movement orientation | Using conflicting definitions of left and right |
A useful communication habit is instruction, acknowledgment, action. Say “turn the dial,” wait for “dial confirmed,” and then proceed. It costs little time and prevents several mistakes from accumulating.
2. Wellness Check: Symbols, Controls, and Battery Transfer
Alien symbol button order
One player sees alien-like images on monitors; the other can press three buttons. Start by naming the symbols together so neither player has to interpret a new description halfway through the sequence.
The successful order in the recorded player experience was:
| Step | Symbol description |
|---|---|
| 1 | Tentacled creature associated with an omega-like shape |
| 2 | Spiky starburst or pufferfish-like face with side details |
| 3 | Butterfly-shaped brain or alien head |
Match appearance before position. The tentacled symbol was identified as the middle option in the source session, but “middle, then that one” is not a reliable instruction for someone who cannot see your screen.
Physical control sequence
The next challenge presents several possible interactions, but only three are needed. The important clue is on the other player’s computer.
In the documented session, the working sequence was:
- Operate the large pull lever.
- Use the crank or dial control.
- Move the slide bar.
The players initially overlooked the computer’s instructions and experimented with unrelated controls. This is an early lesson worth carrying through the We Were Here Tomorrow puzzle guide: recheck a previously used screen after completing a puzzle. Its information may now be relevant to the next task.
Locate all three controls before starting so you can execute the sequence without searching between inputs.
Logistics doors and battery
The logistics section adds movement, shared pulls, and an item transfer through a pneumatic tube.
| Step | Action | Partner’s responsibility |
|---|---|---|
| 1 | Open the route through the controlled doorway | Move through the available gap |
| 2 | Perform the shared pull | Coordinate the interaction |
| 3 | Pick up the battery pack | Locate the receiving end of the tube |
| 4 | Change the door configuration | Give the battery carrier access to the tube inlet |
| 5 | Send the battery through the tube | Retrieve it on the opposite side |
| 6 | Change the doors again as needed | Install the battery in the receiving socket |
| 7 | Perform the shared pull again | Confirm the test is complete |
If progress stalls, check whether the battery is actually installed, not merely delivered. Also verify the door configuration before assuming you need another item. The recorded solution involved revisiting an earlier door state to reach the transfer point.
3. R&D Shrinking Machine and Circuit Puzzle
After the wellness check, the route leads toward R&D. Some interactions require the appropriate access card, so an unavailable handle is not necessarily a timing problem.
The shrinking chamber then creates a new partnership: a miniature explorer navigates small spaces while a full-size helper operates equipment and changes the environment.
Coordinate the chamber carefully
Use explicit calls when entering and leaving:
- “I’m inside.”
- “Close the chamber.”
- “Resize now.”
- “Open the exit.”
The player experience includes moments when the miniature explorer simply needed the helper to open the chamber. Before treating an enclosed space as a softlock, check the door controls.
The larger player also rearranges books to help the smaller player traverse a later area. If the miniature route looks impossible, inspect what can be moved from outside.
Match components to socket paths
The circuit puzzle combines unfamiliar component symbols with recognizable geometric shapes. Its central instruction is to match components with suitable sockets.
A three-shape clue can describe a path through two connected shape pairs. For example, triangle–Y–star corresponds to the triangle/Y and Y/star connections discussed during the session.
| Clue or observation | Practical interpretation |
|---|---|
| Triangle–Y–star | Find the connected triangle/Y and Y/star sections |
| Square–pentagon–plus | Identify the route using those three shapes |
| Two similar bicycle-like symbols | Compare small details before selecting a component |
| A test appears to pass something through | Continue checking the complete circuit |
| Final connection remains incomplete | Recheck placements rather than assuming earlier guesses were correct |
This part of the We Were Here Tomorrow puzzle guide is a method walkthrough, not a definitive socket-by-socket diagram. The spoken source does not establish every final placement clearly enough to reproduce the entire board reliably.
Have the clue reader describe one component at a time. The miniature player should repeat its shape sequence, identify the corresponding connections, and then place it. Trace the circuit from its input rather than filling empty spaces at random.
4. Chemical Recipe and Timed Computer Dials
Chemical mixture: use S–A–B–S
The chemical station features three ingredients: styrene, acrylonitrile, and butadiene. The key is finding and inspecting the recipe before dispensing.
The successful order was:
Styrene → Acrylonitrile → Butadiene → Styrene
Remember it as SABS.
| Addition | Ingredient | Recipe role |
|---|---|---|
| First | Styrene | Added before the central pair |
| Second | Acrylonitrile | Precedes butadiene |
| Third | Butadiene | Equal part to acrylonitrile |
| Fourth | Styrene | Added after the central pair |
The recipe specifies equal parts acrylonitrile and butadiene, with styrene before and after them. One player positions the container while the other uses the dispensing controls.
If you have already experimented, empty the failed mixture before restarting. The documented players cleared their previous attempt and then completed the four additions successfully.
For this We Were Here Tomorrow puzzle guide, the ingredient order is more dependable than an isolated dispenser number. Read the local setting diagram and confirm the ingredient name before each addition.
Insert the disk at full size
At the computer, the miniature explorer encounters numbered floppy disks and cannot progress. The external display requests a save disk.
The successful approach was to:
- Return to the resizing chamber.
- Restore the explorer to full size while carrying the disk.
- Insert the disk into the computer.
- Shrink the explorer again.
- Return to the computer’s interior route.
The obstacle is not solved by finding a hidden miniature button. The disk must be used from the appropriate scale.
Timed dial directions
Inside the computer sequence, one player activates a lever and reads four stopped dial directions. The partner reproduces those directions on the external controls before the timer expires.
| Dial set | First | Second | Third | Fourth |
|---|---|---|---|---|
| First recorded set | Right | Up | Up | Left |
| Second recorded set | Upper left | Lower left | Upper right | Upper right |
Treat these as recorded player-experience solutions, not proof that every attempt uses the same directions.
Before activating the timer, agree on dial order and diagonal terminology. “Upper left” is clearer than “a little left.” Read all four values promptly, and check the machine’s completion state before restarting: in the source session, one player thought the attempt had failed while the other saw success.
5. Printer Grid, Green Access Pass, and Tool Training
Match the printer’s target pattern
The 3D printer challenge uses a grid panel, directional movement, and a central button that changes the selected position’s status. The goal is to reproduce the displayed target pattern.
The biggest obstacle in the recorded session was orientation: a movement described as “right” looked like “left” from the other viewpoint.
Before entering the full pattern:
- Make one horizontal test movement.
- Have the observer describe the actual cursor movement.
- Agree whose viewpoint defines directions.
- Move to each required position.
- Use the center button to toggle its status.
- Compare the completed grid with the target.
This We Were Here Tomorrow puzzle guide intentionally avoids giving the video’s relative movement string as a universal solution. Without a confirmed starting cursor position and orientation, copying that string can produce the wrong pattern.
A better system is to name rows and columns from the observer’s view. “Top row, second column” remains clear even when the controls feel reversed.
Collect and use the green access pass
Completing the grid causes the printer to produce a green access pass. Collect it, restore the miniature player to normal size as needed, and use the pass at the green access point.
You do not need to solve an inventory handoff just because one player is holding the card. In the recorded player experience, the card holder used it directly.
Learn the complementary tools
Beyond the green door, the players receive tools with different functions, including cube creation and a pulling hook.
| Tool function | Useful opening application |
|---|---|
| Cube creation | Make a climbing step or interact with a suitable surface |
| Pulling hook | Reach and pull an appropriate target |
| Combined movement | Help a partner access elevated interactions |
The training area includes colored objectives. If one remains incomplete, look above normal eye level and test whether you can aim at the elevated target. The source players progressed after realizing they could aim higher.
Continue through the training route and transport sequence to reach the Exotic Matter Lab, where this walkthrough’s coverage ends.
FAQ
Does this We Were Here Tomorrow puzzle guide cover the whole game?
No. It covers the opening wellness check, R&D shrinking puzzles, chemical station, computer dials, printer access pass, and introductory tool section. The available gameplay source stops at arrival at the Exotic Matter Lab.
What is the correct chemical order?
The successful recorded recipe is styrene, acrylonitrile, butadiene, styrene. Empty any failed mixture first, and use equal parts acrylonitrile and butadiene as directed by the recipe.
Why can’t the miniature player progress inside the computer?
In the documented player experience, the missing step was inserting the carried save disk while full size. Return to the chamber, enlarge, insert the disk externally, then shrink again to continue.
Why do the printer’s left and right directions seem reversed?
The players may be interpreting movement from different viewpoints. Test one movement before editing the pattern, establish a shared orientation, and use row-and-column descriptions to avoid repeatedly reversing instructions.
Related Guides
We Were Here Tomorrow demo walkthrough: Guide & Tips
Find the right We Were Here Tomorrow demo walkthrough, avoid wrong-game solutions, and use a practical checklist to work through co-op puzzles.
We Were Here Tomorrow full walkthrough: Part 1
Solve the wellness check, chemistry mixture, computer dials, and green keycard puzzles in this step-by-step We Were Here Tomorrow opening guide.
We Were Here Tomorrow guide: Co-op Tips and Tools
Start strong with this We Were Here Tomorrow guide to co-op communication, tools, puzzle-solving, playtime, and finding a partner.
We Were Here Tomorrow release date demo: Launch Guide
Get We Were Here Tomorrow's release date, limited-time demo details, Steam price, co-op requirements, and PC specs before teaming up.
We Were Here Tomorrow computer puzzle: Disk & Dial Guide
Solve the We Were Here Tomorrow computer puzzle with floppy disk setup, timed dial directions, co-op tips, and the next 3D printer steps.