We Were Here Tomorrow computer puzzle: Disk & Dial Guide
Solve the We Were Here Tomorrow computer puzzle with floppy disk setup, timed dial directions, co-op tips, and the next 3D printer steps.
We Were Here Tomorrow Computer Puzzle: Quick Solution
The We Were Here Tomorrow computer puzzle can leave both players staring at inactive controls even when the missing piece is already in their inventory. Solving the setup matters because the timed dial challenges cannot begin until you insert the save disk at the correct size. This We Were Here Tomorrow computer puzzle guide explains that prerequisite, the two dial sequences shown in player experience, and how to continue toward the green access pass.
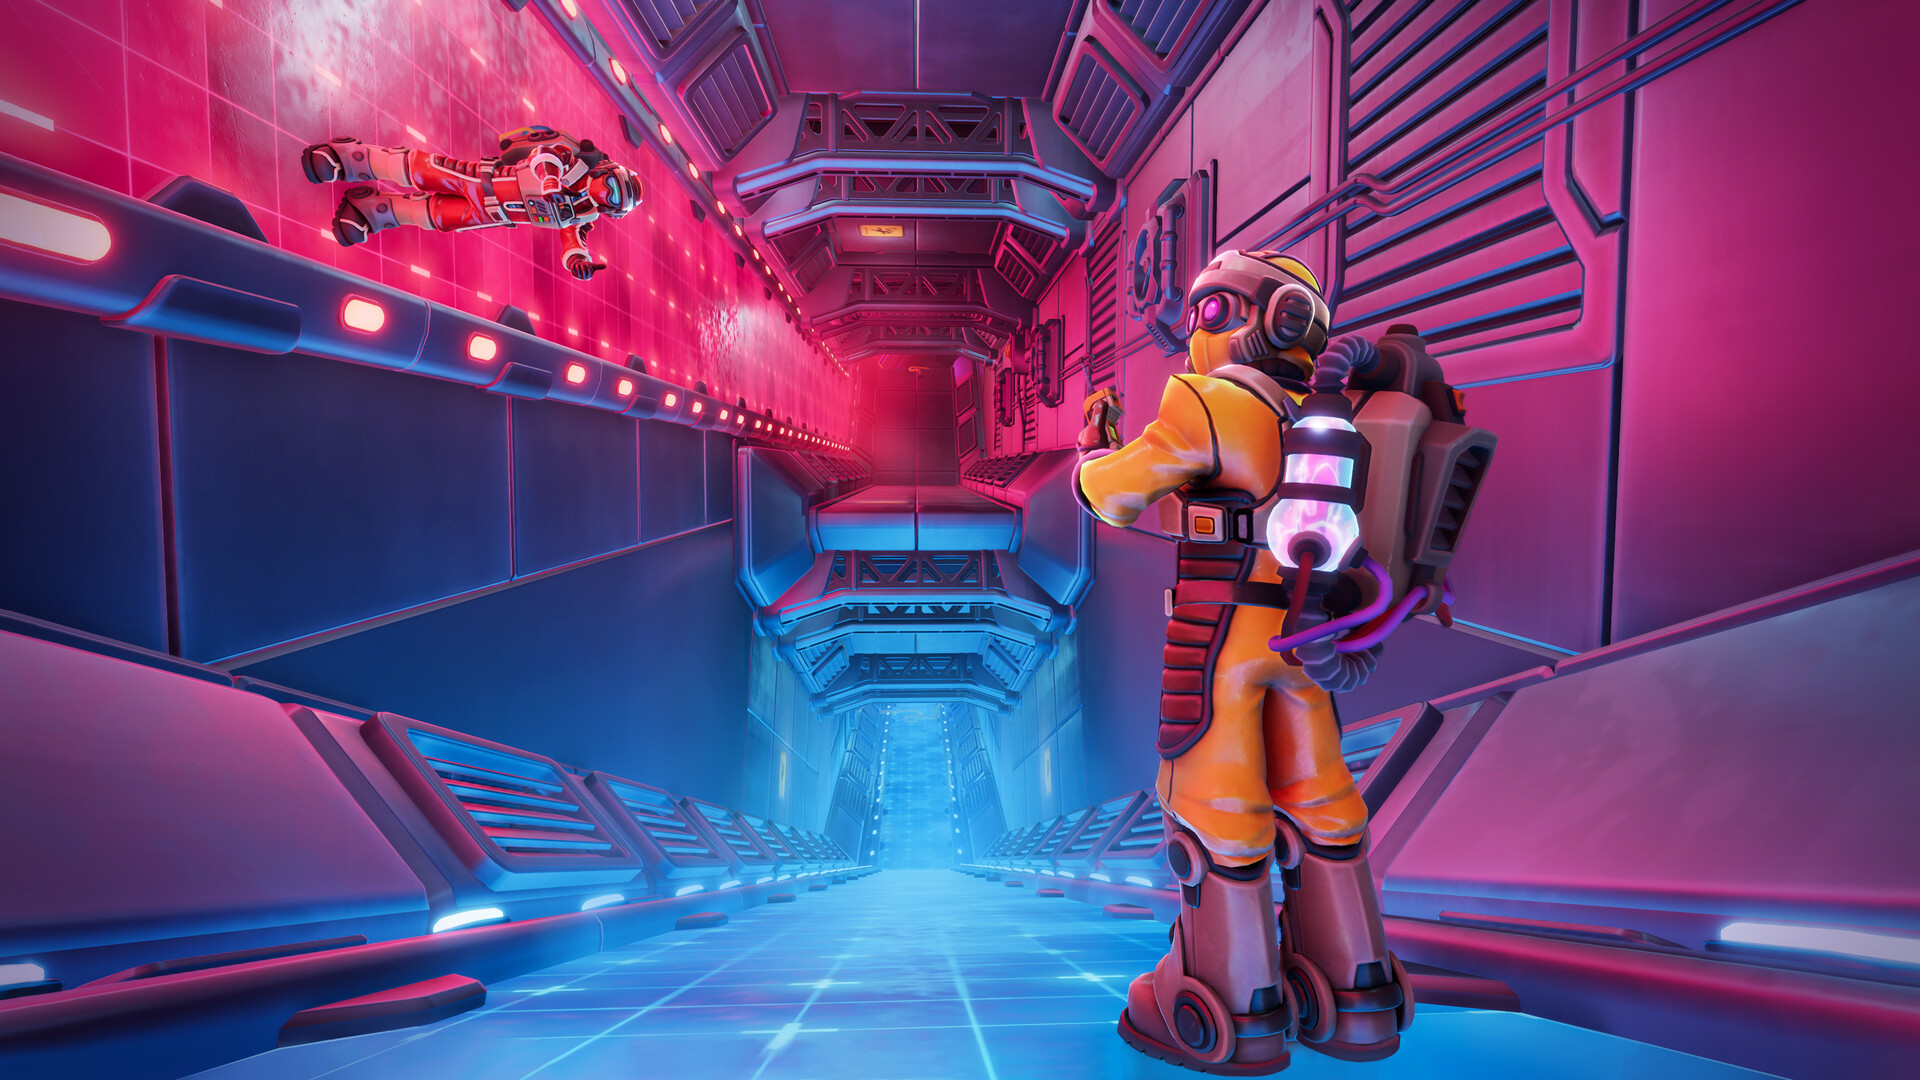
Official screenshot · Source: Steam store
The essential fix: if you are carrying the disk while miniature, return to normal size, insert it into the computer’s disk slot, and then shrink again to access the internal puzzle area.
This walkthrough covers the early R&D computer sequence following the chemical-mixing task. It also explains the nearby printer puzzle, which is a separate step toward opening the next door.
Source note: puzzle details below come from player experience documented in the supplied gameplay recording. The sequences describe that recorded run, not an independently verified guarantee that every session uses identical values. When your live display differs, follow the directions your partner actually sees.
| Where you are stuck | What to check | What to do next |
|---|---|---|
| Computer requests a save disk | Whether the disk is still carried by the miniature player | Return to normal size and insert it |
| Numbered floppy disks block the internal route | Whether the external disk setup is complete | Finish inserting the save disk before searching further |
| Exterior controls are inactive | Whether the computer has received the disk | Complete the setup, then recheck the controls |
| Four directional dials appear | Whether both players are ready | Start the timed communication challenge |
| Computer sequence is finished | Whether the route toward the printer is accessible | Continue to the separate grid-pattern task |
You do not need a password or a hidden text command for the recorded computer encounter. The obstacle is a physical interaction followed by coordinated directional inputs.
Prepare the Save Disk and Assign Your Roles
The biggest trap in the We Were Here Tomorrow computer puzzle is treating it as a self-contained challenge inside the machine. In the recorded player experience, the miniature explorer reaches the computer interior before the pair realizes that the external save-disk step remains unfinished.
One player sees oversized floppy disks labeled 01 and 02 blocking progress. Meanwhile, the partner outside has inactive controls and a monitor asking for a disk. Those clues point back to an unfinished setup step rather than a secret route around the obstruction.
Insert the disk at normal size
Use this order to get both players into position:
- Confirm who has the save disk. In the recorded run, the miniature explorer is carrying it.
- Leave the internal area. Use the available return or teleport route to get back toward the resizing equipment.
- Restore the carrier to normal size. Coordinate the chamber door and resizing controls with your partner.
- Insert the disk into the computer. Look for the slot associated with the monitor’s save-disk prompt.
- Shrink the explorer again. The miniature player can now return to the computer’s internal route.
- Check both perspectives. Confirm that the inside player can reach the challenge and the outside player can operate the matching controls.
Do not spend several attempts trying to force the tiny disk into the external slot. The successful player experience specifically involves becoming large again before inserting it.
Decide who reads and who enters
Clear role assignments make the timed section much easier.
| Role | Main responsibility | Useful callout |
|---|---|---|
| Miniature explorer | Activate the internal lever and read the four dial directions | “One right, two up, three up, four left” |
| Exterior operator | Match the directions using the outside controls | “First three set; finishing four” |
| Both players | Confirm readiness and check completion | “Ready,” then “Start,” then “Passed” |
These are practical walkthrough labels, not official character names. What matters is separating the person reading the answer from the person entering it.
The game’s official Steam description of its asymmetrical co-op puzzles emphasizes combining different perspectives. This encounter puts that design into practice: neither player has the complete interaction available from one position.
Match the Two Timed Dial Sequences
Once the disk is installed, the We Were Here Tomorrow computer puzzle becomes a timed matching exercise. The miniature explorer pulls a lever, observes four directional dials, and communicates their positions to the exterior operator.
The outside player then reproduces those directions. In the recorded player experience, the pair completes one side and then moves on to a second set.
Recorded directions for both sets
The following table preserves the order in which the players call out the four dials:
| Dial position in the callout | First recorded set | Second recorded set |
|---|---|---|
| 1 | Right | Upper-left |
| 2 | Up | Lower-left |
| 3 | Up | Upper-right |
| 4 | Left | Upper-right |
First set: right → up → up → left.
Second set: upper-left → lower-left → upper-right → upper-right.
Treat these as player-experience examples. Before entering them, compare them with your current dials. The available material does not establish whether directions can vary between sessions, attempts, or later updates.
Use one agreed reading order
Before pulling the lever, decide how the four dials will be numbered. Identify the same consistent order on both players’ displays, then use numbers in every callout.
For example:
- Reader: “One upper-left.”
- Operator: “One set.”
- Reader: “Two lower-left, three upper-right, four upper-right.”
- Operator: “Finishing four.”
Numbering prevents a missed word from shifting every remaining input. It also lets the operator ask a precise question—“Repeat dial two”—instead of requesting the entire sequence again.
Account for the rotating controls
The recorded operator mentions waiting for a control to rotate around again. That makes hesitation costly: knowing the target direction is only part of the task.
Before starting, identify the controls you will use and keep your attention on the next required direction. Call out repeated values compactly, such as “three and four both upper-right,” while still preserving their numbered positions.
There is no reliable timer duration in the supplied material, so avoid planning around a specific number of seconds. Prepare first, then activate the lever.
Confirm success together
After the first set, the players briefly disagree about whether the input was accepted. One perspective appears less clear than the other, but the pair continues successfully.
If your feedback is ambiguous, compare both views before restarting. After completing the second set, check whether you can leave the internal area and continue toward the printer.
Troubleshoot Inactive Controls and Missed Inputs
Most confusion in the We Were Here Tomorrow computer puzzle comes from either an incomplete prerequisite or unclear communication. Diagnose those separately: inactive controls suggest a setup problem, while an unsuccessful timed attempt calls for checking directions and timing.
| Symptom | Likely issue to investigate | Practical response |
|---|---|---|
| Monitor still asks for a disk | Disk has not been inserted successfully | Return to normal size and check the external slot |
| Internal path remains blocked | External setup may be incomplete | Ask the outside player to confirm the disk interaction |
| Operator cannot finish in time | Callouts begin late or take too long | Agree on numbering before activating the lever |
| Diagonal inputs are confused | “Up-left” and “down-left” sound too similar | Use “upper-left” and “lower-left” consistently |
| Players disagree about success | Feedback differs between perspectives | Check progression from both sides |
| Recorded directions fail | Your live display may differ, or an input was missed | Read the current dials instead of repeating blindly |
A useful rule is to change only one part of your approach at a time. If the disk is installed and the controls work, do not keep revisiting the resizing chamber after every missed timed attempt. Focus on the live directions and your input rhythm.
Likewise, do not assume an inactive panel is a bug before checking the disk prompt. The recorded pair resolves that exact kind of dead end through the normal resizing mechanic.
Keep your radio conversation short during the active timer. Exploration questions, jokes, and explanations are easier to handle between attempts.
Finish the Nearby 3D Printer Grid Puzzle
Completing the We Were Here Tomorrow computer puzzle does not immediately put the green access pass in your hands. The recorded route continues into a separate 3D printer grid puzzle, where the pair must match a visible target pattern.
The miniature player reaches the printer area, while the partner examines the relevant display and printer panel. Directional controls move the selection, and a middle button changes the selected cell’s state.
Match the pattern, not a memorized movement list
The gameplay conversation contains several corrections about left and right. Because the starting cursor position and viewing orientation are not fully established in the transcript, its movement callouts are not a dependable universal solution.
Use the target pattern itself instead.
| Grid-solving step | Recommended approach | Why it helps |
|---|---|---|
| Establish orientation | Make one horizontal move and have your partner describe it | Reveals whether your perspectives reverse left and right |
| Identify the target | Have the observing player describe the required cells | Keeps the pattern separate from cursor movement |
| Track the selection | Call out the cursor’s current position | Prevents movement errors from accumulating |
| Toggle a cell | Use the middle button and confirm the visible change | Distinguishes moving from editing |
| Verify completion | Compare the full grid with the target | Catches extra active cells as well as missing ones |
If possible, describe cells with coordinates: “row one, column two” is clearer than “the dot over there.” Agree on which corner counts as the top-left before using that system.
Once the pattern matches, the printer produces a green access pass in the recorded player experience. Collect it, help the miniature explorer return through the resizing process, and use the pass at the green-access door.
The important distinction is simple: the disk activates the computer challenge; the later printer pattern produces the access pass.
FAQ
What is the solution to the We Were Here Tomorrow computer puzzle?
Restore the disk-carrying explorer to normal size, insert the save disk into the external computer slot, then shrink again and complete both timed dial sets. The recorded player experience uses right, up, up, left, followed by upper-left, lower-left, upper-right, upper-right. Verify those values against your live display.
Why are the computer buttons inactive?
In the recorded run, the missing prerequisite is inserting the save disk. The explorer already has the item but must return to normal size to use it at the external computer. Check that interaction before assuming the controls are broken.
Are the dial directions always the same?
The supplied player experience documents two successful sequences, but it does not confirm that they are fixed across every session or update. Your partner’s current dial display should take priority over any written sequence.
What should we do after finishing the computer?
Continue toward the 3D printer and solve its separate grid-pattern task. Match the target using directional movement and the middle toggle button. The successful pattern produces the green access pass needed for the next green-access door.
Related Guides
We Were Here Tomorrow cable puzzle: Co-op Tips
Stuck on the We Were Here Tomorrow cable puzzle? Use clear callouts, connection notes, and controlled tests while avoiding unverified solutions.
We Were Here Tomorrow chemical puzzle: Co-op Help
Stuck on the We Were Here Tomorrow chemical puzzle? Get practical co-op troubleshooting tips and learn which solution details remain unverified.
We Were Here Tomorrow crystal puzzle solution
Check the game-title mismatch, then solve the documented five-crystal puzzle in We Were Here Together with clear co-op steps and reset tips.
We Were Here Tomorrow release date demo: Launch Guide
Get We Were Here Tomorrow's release date, limited-time demo details, Steam price, co-op requirements, and PC specs before teaming up.
We Were Here Tomorrow puzzle guide: Early Solutions
Solve the opening wellness check, R&D circuits, chemical recipe, timed dials, and green access pass puzzles with clear co-op instructions.